
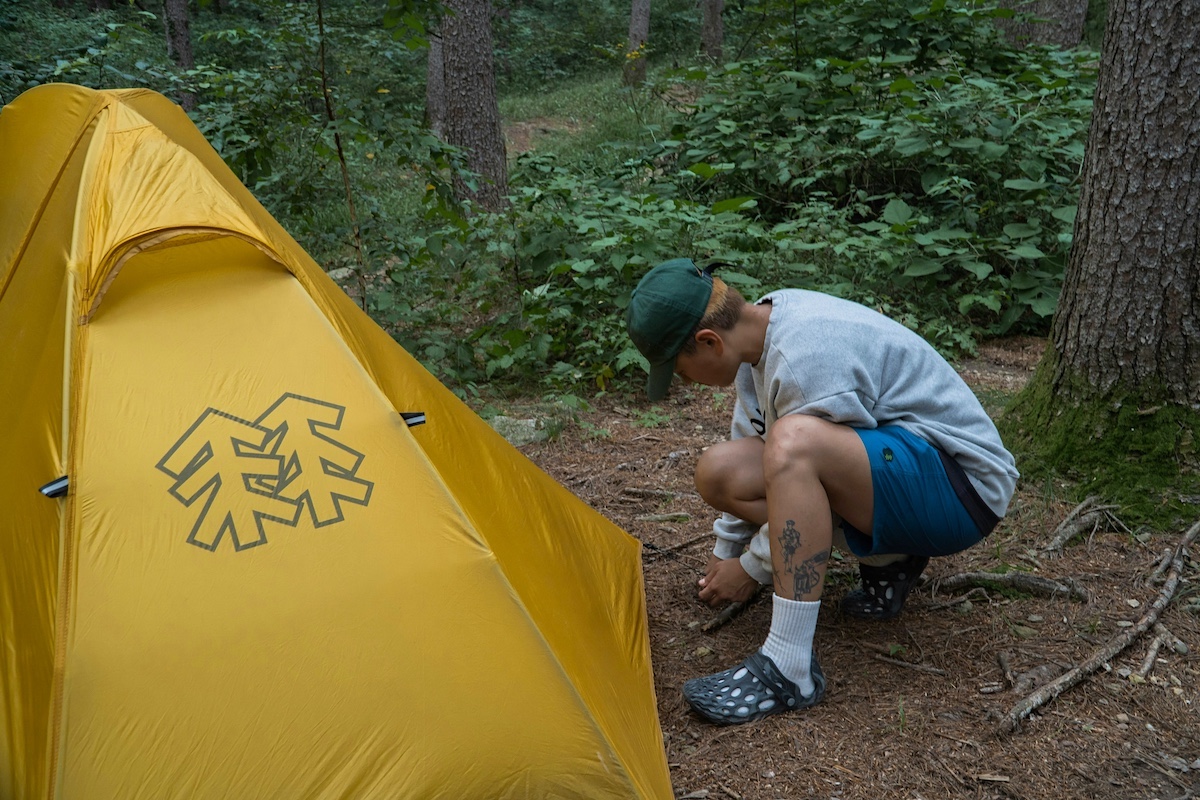
One of author Curtis Twellmann’s trail camera recorded the passage of a nice buck on public land where he planned to hunt. Note the photo below of the author at the same location. All photos by Curtis Twellman.


One of author Curtis Twellmann’s trail camera recorded the passage of a nice buck on public land where he planned to hunt. Note the photo below of the author at the same location. All photos by Curtis Twellman.
Everyone likes to run trail cameras, at least those not terrified of spiders. It’s like a mini hunting trip, but you get pictures instead of meat. Not nearly as tasty, but still useful. The first thing to consider when placing cameras is what are your scouting goals. If you just want to have fun, that’s perfectly fine but if you want to put in a bit more effort, you may get more back than you bargained for.

Are you looking for any deer, or a mature buck? Are you hunting a specific stand on private ground or are you looking for setup spots on public land? No matter how you answer those questions trail cameras can likely add to your scouting experience.
As primarily a public land hunter looking for a mature buck this season, I use trail cameras to help narrow down where I want to hunt first. Then I try to maximize my utilization of the pictures I get to inform how I hunt that area. My first step would be to identify public land areas that allow archery deer hunting around me and check the site-specific regulations. Then it is time to cover ground and scatter a couple cameras out over the best potential sites.
At this point, I am not necessarily trying to find the best location to hunt. I am looking for a good place to get a snapshot of what deer may be around. Secondly, I am looking for places where I am likely to still have a camera when I go back to visit them. Whether on public or private land, this is never guaranteed.

Features like scrapes are great places to set cameras to get a quick look at who is around but they can also attract the attention of other hunters. Not ideal for me so I will almost never place a camera on a scrape on any field edge. Those cameras tend to not make it very long remaining in your procession. A scrape deep in the woods is another story. Keep in mind you can create a mock scrape if one doesn’t exist where you want it.
I tend to focus on natural funnels for this step. Either topographic funnels or landmark funnels like ones created by waterways or even hourglass shaped woodlots. These areas can be pinpointed before you even visit the site by using aerial imagery and topographic maps. This makes placing a couple cameras quick work with a significant portion of the initial scouting done from home.
Using this method, you will get a sample of the deer and specifically the age class of bucks that are currently using an area. Remember that home ranges can shift throughout the season, so the most current data is the best. You will not get a picture of every buck, but by converting your pictures into numerical data in an excel spreadsheet, you can use this information to quickly compare two different hunting areas.

Record what is in the picture. An adult doe, an adult buck, a subadult buck or a fawn are the options I use. Aging deer on the hoof is not an exact science, which is why I try to lump into just those four categories. You can split up the different categories any way you like. I will also always note the number of total camera trap nights (number of operational cameras going for a 24-hour period) on an area as a metric to compare overall deer abundance at different sites. Here is an example of what the spreadsheet would look like.
My favorite ways to try to avoid theft are to place cameras in spots that aren’t obvious. Avoid rubs or scrapes, especially along field edges or any feature that is sure to catch the attention of most folks who walk past. Often this means running deer trails back good distances off any mowed or human walking trails.
Carry a tree step or a small ladder with you and place just above normal reaching height. Doing this will cause most people to never see your camera. Even if they do see it, it would be out of reach unless they, too, had a climbing stick. I make sure and put a small wedge behind the top half of the camera so that it is pointing slightly down at the area, I think the deer will be moving through.
Make sure your camera is well concealed just like you do for yourself when you’re hunting. To accomplish this, I do not like to attach my cameras to any smaller, singular trees. This helps the camera from being sky lined from any angle. I like to choose a small clump of trees and position the camera as deep as I can while still having a mostly unobstructed view whenever possible.
You can use lockboxes or cable locks to help prevent theft. I tend to stay away from this method as it has me putting more stuff that may be seen onto my camera.
Once I select an area to hunt its time to really try to learn as much about how deer use the landscape as possible. This requires covering many miles. At first, a new area seems big and intimidating but as you learn the lay of the land and leaves continue to fall, it seems to shrink.

Now is the time I want to deploy cameras in the exact spot I may want to hunt if possible. By doing this it is almost like I hunt each potential spot every day that the cameras are out there functional. By taking all these pictures and recording aspects like wind direction and time of detection, I can quickly compare different stand locations.
I always like to hang a small wind indicator in the frame of the picture so that I can often see this without having to look it up. This could be a small green ribbon or a string, just remember to pick it up when you leave so you do not litter.
The time of detection is when deer are moving through this specific spot. Better yet, when might this spot be most productive to hunt? I lump time of detection into four categories: nighttime, a.m., midday and p.m. It’s not an even split, but it can help you determine which spots are more productive in the morning vs the evening and even help locate those under-utilized midday spots.
When you know when the deer are at a specific spot and combine that with the wind direction and the direction of travel and you can start making educated guesses about where they are bedding and feeding under different weather conditions. Take note of where deer tend to go in times of weather changes or periods of known disturbances also.
No matter how you do it, running trail cameras is not only enjoyable but will help teach you about deer and the environment in which they live. If you can squander the repressed past trauma from any statistics class you once attempted, recording just a few simple lines on a spreadsheet, you can turn mountains of picture data into something really useful.
If the vast numbers of pictures your cameras are taking leaves your head spinning, and your still not sure where to go each sit, give this method a try and see if maybe you can swing the “luck” in your favor.
See ya in the woods!
The Illinois Learn to Hunt Program is funded through Federal Aid in Wildlife Restoration Grant W-188-R and is a collaborative effort between the University of Illinois’ Illinois Natural History Survey and Illinois Department of Natural Resources to increase Hunter Recruitment, Retention, and Reengagement (R3) efforts in Illinois.
Curtis Twellmann has been with the Illinois Learn to Hunt program since 2020. Growing up in north-central Missouri, Twellmann hunted, fished and trapped from an early age. This led to a wildlife degree from Northwest Missouri State in 2012. From there he worked as a field biologist for the better part of a decade in Nevada, Nebraska, Texas, Alaska and California. Then he spent about three years as the Assistant Furbearer Specialist in Wisconsin before starting with the Illinois Learn to Hunt program.


Submit a question for the author