I spent more than two decades years patrolling the waters and woods of this state as an Illinois Conservation Police Officer. From the sprawling, choppy expanses of Lake Michigan down to the quiet, brush-choked banks of the Mississippi River, I’ve checked thousands of stringers, coolers and licenses. I have also watched plenty of grown adults lose their temper and the fish of a lifetime because a sloppy, hastily tied knot gave way at the worst possible moment. The look on a grown angler’s face when the big one gets away is disheartening. Even with the best knots, lines can break due to stress or fraying from prior fish being caught or damage around a dock or brushpile. Practice makes perfect when tying a good knot, and helps with speed. Check the line for frays and damage frequently to provide the best opportunity for landing the fish of a lifetime.
Learn more about fishing knots at the iFishIllinois website.
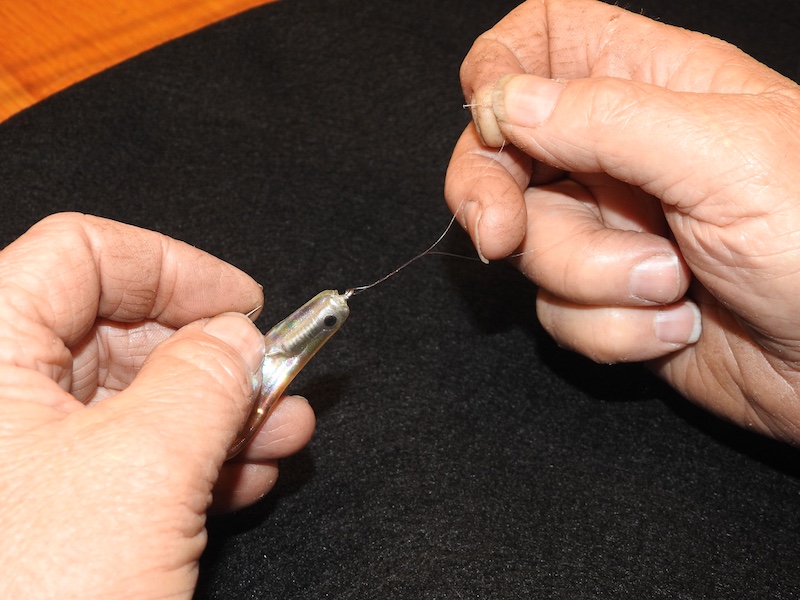
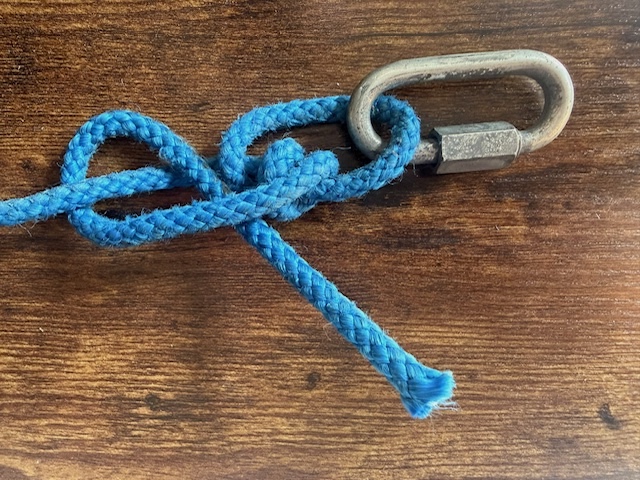
Photo above by Eliha Perez.
I once watched a seasoned fisherman on the Rock River hook into a muskie that looked like a submerged log. He fought it perfectly for 10 minutes, only for his line to snap right at the eyelet of his bucktail spinner as the fish made its final thrash at the shore. It was late winter and the Oregon dam had some secrets just below the dam. This fisherman was looking for walleye but came across a once-in-a-lifetime fish.
Out in the field, your gear is only as strong as the knot holding it together. Whether you are hauling in a channel cat on the Illinois River, tying off your jon boat ahead of a storm or setting up a deer camp in the Shawnee National Forest, knowing your knots is what separates a prepared outdoorsman from a frustrated one.
Here is my field-tested guide to the essential knots you need to know, both on the water and in the timber.
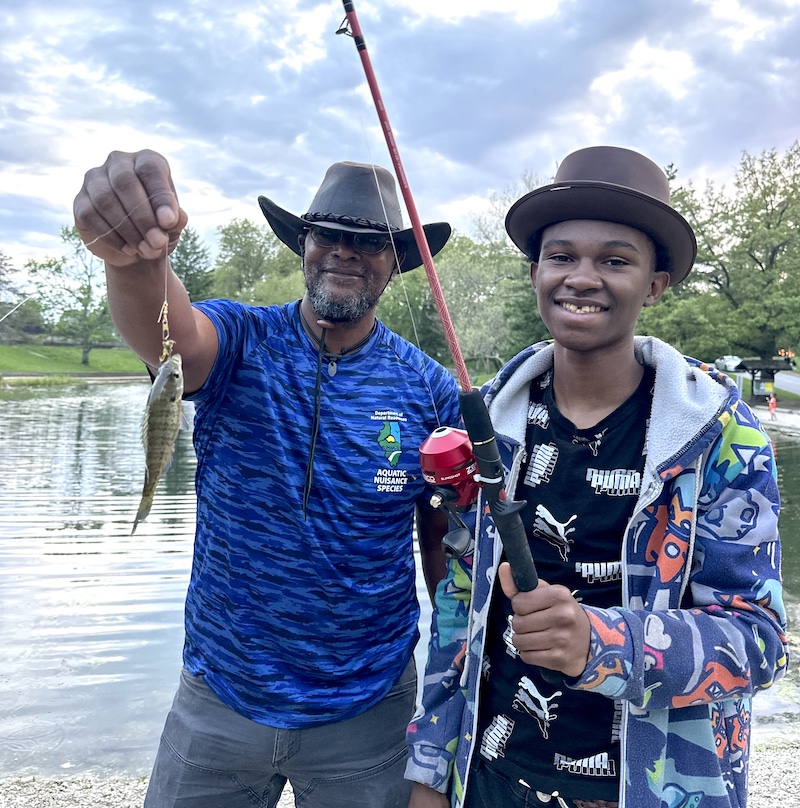
The Bread and Butter of Illinois Fishing
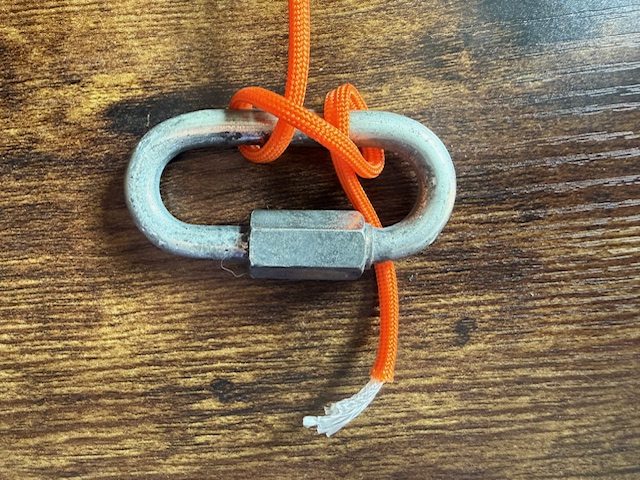
Photo by Patty Gillespie.
When the crappie are biting in early spring or the largemouth bass are pushing shad into the shallows, you don’t have time to fumble with complicated rigging. You need knots that are fast to tie, hold under pressure and won’t slip when wet.
The Palomar Knot: If you are flipping heavy jigs into the buckbrush for Crab Orchard bass or fishing with slippery braided line, this is your mandatory knot. It is incredibly strong, nearly impossible to pull out if tied correctly, and takes about five seconds to secure. Because the line passes through the hook eye twice, it provides double the strength at the friction point.
The Improved Clinch Knot: This is the old reliable for standard monofilament. Whether you’re tying on a tiny ice jig for bluegill or throwing inline spinners for white bass, the Improved Clinch rarely lets you down. Warden’s Tip: Always wet the line with a little saliva before you pull it tight so the friction doesn’t burn and weaken the monofilament.
The Non-Slip Loop Knot: If you are throwing crankbaits or topwater frogs, tying your line tight to the lure kills the action. A loop knot gives the lure room to swing and dart naturally in the water, which is often the key to triggering a strike from a lethargic walleye.
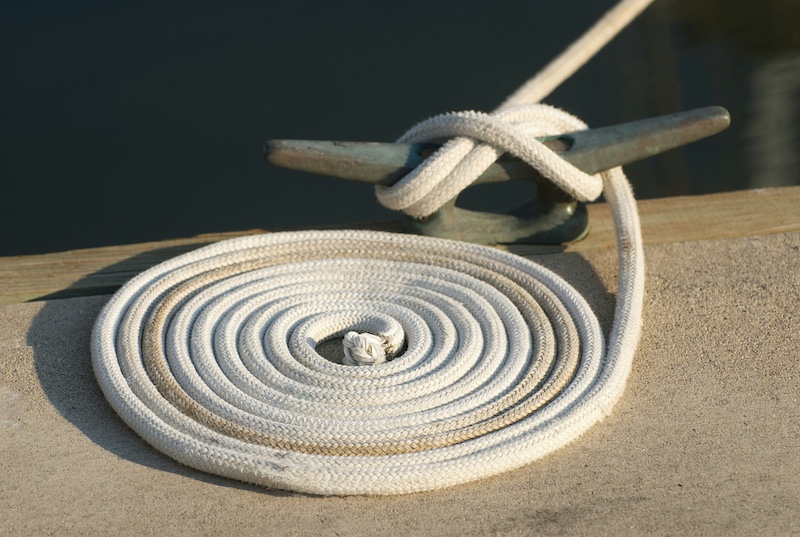
Securing the Vessel: Essential Boating Knots
A staggering number of calls I responded to involved boats that drifted away from docks or anchors that didn’t hold. If you own a boat, knowing how to secure it is a matter of public safety.
Photo by Stephan Hinni, Unsplash.
The Cleat Hitch: Walk down any marina dock from Waukegan to Carlyle Lake, and you will see a mess of tangled ropes masquerading as tie-offs. The Cleat Hitch is the only proper way to secure your boat’s bow or stern line to a dock cleat. It involves a single wrap around the base, a figure-eight over the horns and a finishing underhand loop. It holds fast under the surge of boat wakes but can be undone in seconds.
The Anchor Bend: Despite its name, this is a knot, not a bend. When you are dropping anchor over a brush pile in 20 feet of water you need a knot that won’t chafe and snap. The Anchor Bend involves taking two turns through the anchor shackle before tying off, providing superior resistance against the constant tugging of river currents and wind chops.
The Clove Hitch: When you need to temporarily tie your boat to a round piling or a tree stump while you hop onto the bank, the Clove Hitch is your best friend. It is a quick binding knot, though it should only be used temporarily as it can slip if the tension isn’t constant.
Holding the Fort: Knots for Hunting and Camping
When you transition from the boat ramp to setting up a hunting camp, fishing knots won’t cut it. You are dealing with heavy rope, paracord and unpredictable Midwest weather.
The Taut-Line Hitch. Photo by Steven Beltran.
The Bowline: Often called the “king of knots,” the Bowline creates a fixed loop at the end of a rope that will never slip or tighten, no matter how much weight you put on it. In a camping scenario, this knot is absolutely vital. Use it to hang a heavy bear bag out of reach, haul your pack up into a tree stand or create a rescue loop in an emergency. Once the tension is off it easily breaks apart, saving you from having to cut your expensive rope.
The Taut-Line Hitch: When the prairie winds start howling across the campground and your tent starts flapping you need a knot that can take up the slack. The Taut-Line Hitch creates an adjustable loop that slides easily up and down the rope but grips tightly under tension. It is the only knot you should be using for tent guy lines.
The Trucker’s Hitch: If you are securing a freshly harvested buck in the bed of your truck, or tying a canoe down to a roof rack, you need a mechanical advantage. The Trucker’s Hitch acts like a makeshift pulley system, allowing you to cinch a load down incredibly tight before securing it.
Learning the Ropes: The Scout Foundation
If you are wondering where I, and a vast majority of the conservation officers I served with, learned the value of a good knot, it wasn’t at the State Police academy. Long before I ever put on a green uniform and a badge, I was a youngster standing in a dusty church basement with a piece of manila rope in my hands at a Scouting America (SA) troop meeting.
When is the right time to use certain line and rope?
SA has been teaching knot tying for more than a century, and for good reason. They drill the “Scout Knots” into you early on for rank advancement: the Square Knot as a Tenderfoot, then the Taut-Line Hitch and eventually the Bowline and Clove Hitch. The Scouts don’t just teach these skills so you can set up a canvas tent on a weekend campout. They teach these skills to build self-reliance, patience and spatial awareness.
When a young scout masters a knot they realize they have the capability to build, secure and problem-solve with their own two hands. In an era where most youth are tethered to a screen, that tactile connection to the physical world is more important than ever. If you have a young one showing an interest in the outdoors, tossing them a length of rope and a Scout handbook is simply the best foundation they could ask for.
The Warden’s Quick-Reference Knot Guide
Fishing Knots (Line to Lure/Hook)
The Palomar Knot (Best for braided line & heavy jigs)
Double about 6 inches of line to form a loop.
Pass the loop through the eye of the hook or lure.
Tie a loose overhand knot with the doubled line.
Pass the loop completely over the hook or lure.
Moisten the line, pull both the tag end and standing line simultaneously to cinch tight and trim the tag end.
The Improved Clinch Knot (Best for standard monofilament)
Thread the tag end through the eye of the hook.
Wrap the tag end around the standing line five to seven times.
Thread the tag end through the small loop resting right against the hook eye.
Bring the tag end back through the large loop you just created.
Moisten the line and pull the standing line tight to slide the coils neatly against the eye. Trim the tag.
The Non-Slip Loop Knot (Best for crankbaits & topwater)
Tie a simple overhand knot in the standing line, leaving a long tag end, but do not pull it tight.
Pass the tag end through the lure’s eye, then back through the overhand knot.
Wrap the tag end around the standing line four to five times.
Pass the tag end back through the overhand knot exactly the way it came out.
Moisten, pull the tag end and standing line to cinch and trim.
Boating Knots (Securing the Vessel)
The Cleat Hitch (For tying to a dock cleat)
Take a full wrap around the base of the cleat, starting on the side furthest from the boat.
Bring the line over the top of the cleat in a figure-eight pattern.
On the final turn, twist the line to form an underhand loop (a half hitch) and slip it over the horn of the cleat.
Pull the standing line tight. The free end should be pinned securely under the final wrap.
The Anchor Bend (For securing an anchor)
Pass the tag end of the rope through the anchor shackle ring twice, creating a double loop.
Pass the tag end around the standing line and tuck it through the double loop you just made. Pull tight.
Tie a standard half hitch around the standing line just above the first knot to lock it in place.
The Clove Hitch (For temporary tie-offs to a post or piling)
Wrap the free end of the rope around the post.
Cross the rope over itself and wrap it around the post a second time.
Tuck the free end under that second wrap.
Pull both ends to tighten. (Note: Only use for temporary holds where tension remains constant).
Camping & Hunting Knots (Heavy Rope & Paracord)
The Bowline (The rescue loop that never slips)
Make a small loop in the standing line (the “rabbit hole”).
Bring the tag end (the “rabbit”) up through the hole.
Wrap the tag end around the back of the standing line (the “tree”).
Bring the tag end back down through the hole.
Grasp the tag end and the loop and pull the standing line to tighten.
The Taut-Line Hitch (For adjustable tent guy lines)
Pass the rope around a tent peg or tree.
Bring the tag end back and wrap it around the standing line twice, moving toward the tent peg (inside the loop).
Bring the tag end past those two wraps and tie a single half hitch around the standing line, moving away from the tent peg (outside the loop).
Pull tight. Slide the knot up or down the standing line to adjust the tension.
The Trucker’s Hitch (For cinching down heavy loads)
Tie a directional figure-eight or a simple slip knot high up on the standing line to create a fixed loop.
Pass the tag end down around your truck bed tie-down point.
Bring the tag end up and thread it through the loop you created in step 1.
Pull down hard on the tag end. The loop acts as a pulley, letting you crank down the load.
Secure the tension by tying two tight half hitches around the standing ropes.
Steven Beltran dołączył do Policji Ochrony Przyrody stanu Illinois w 2000 roku, a w 2024 roku przeszedł na emeryturę jako sierżant w północno-zachodnim Illinois.


Prześlij pytanie do autora